Showing posts with label DIY. Show all posts

Shabby Chic Heart Bowl Fillers - DIY No Sewing!


For me, nothing's better than a fast, easy and inexpensive craft project. These shabby chic heart bowl fillers check all the right boxes. All you need to make these is some leftover fabric or drop cloth, scissors, a glue gun and (if you like) stencils and transfers.


Check out my Youtube video to see more of these hearts up close and personal, and learn how you can make some for yourself.

Creating a Christmas Cloche with Mostly Things I Had on Hand


Back in the day when I worked at Pier 1, I bought a candle cloche that was on clearance. I've never used it for burning candles, and for the most part it's been squirreled away in my kitchen cabinet. Last week, while gathering my Christmas decor, I spied the cloche and had an idea to repurpose it into a Christmas cloche.

Guest Bath Progress - Recessed Wall Niche


My guest bath progress slowed down the past few weeks while I tended to outdoor projects that needed to be completed before cold weather set in. I'm glad I took the time to do that, because this morning we received our first of the season snow, mixed with rain, and tonight it's supposed to freeze. 


On Monday I found time to finish the recessed wall niche, and I'm loving the way it looks.

Thrifted Crate Flipped for Fall


Today I'm sharing a thrift flip with you. And honestly, I'm kind of excited about the way it turned out. It's something that can be displayed throughout the year, and right now it's styled for fall.


A while ago I bought a small crate for $2 at the thrift store. It apparently had been used as a wall shelf with little cup hooks attached (one was missing).

Grab the Drop Cloth and Let's Make a Fall Rag Wreath!


When one of my favorite Youtubers featured a DIY drop cloth rag wreath during her fall decor video, this crafty girl knew she had found her 2022 fall door wreath.


This is a budget-friendly, easy-to-make wreath and no glue is required. It works with just about any decor style: shabby chic, cottage, farmhouse, boho, coastal. . .you name it. 


If you're interested in making a wreath like this, then read on for a quick tutorial.

Guest Bath Progress


My guest bath project made significant progress last week. On Monday the electrician installed the new light fixture. Then, on Thursday my counter top guy came and replaced the old vanity top with the new one. The plumber, who was also onsite at the time, installed the new sink and faucet, as well as the new toilet.

Just to remind you of how the bathroom looked prior to these changes, here's the before photo.


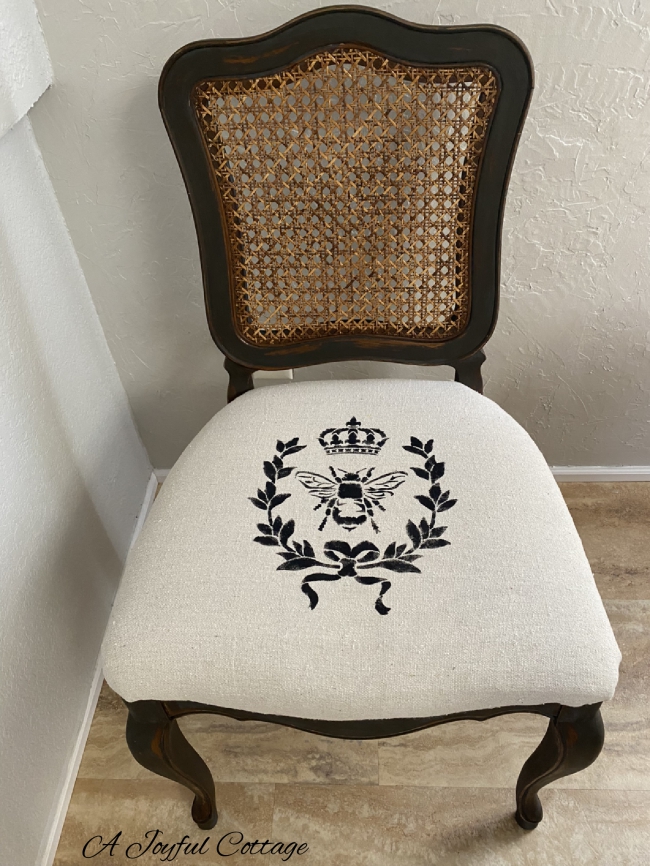
French Country Chair Makeover


This is a makeover I've been itching to complete, and now that it's finished I'm thrilled to share it with you.


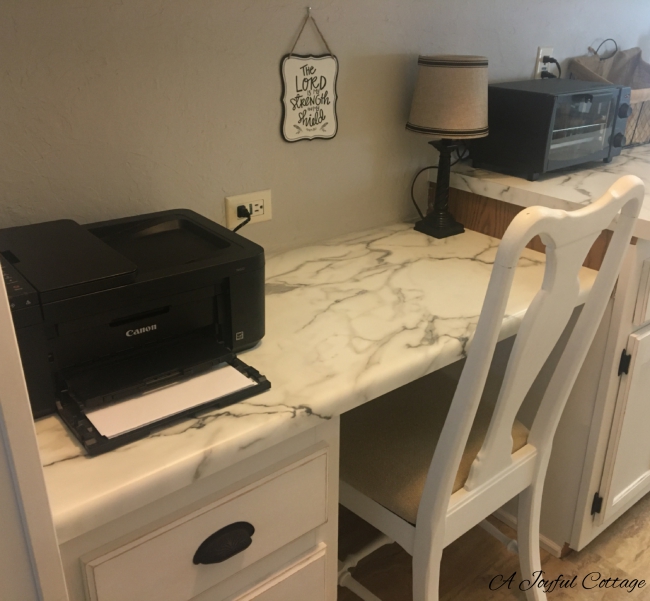
When I changed out the chairs of my imperfectly perfect dining table and chairs, I was able to salvage one of the old chairs for use with my kitchen desk. I had a larger chair there that kind of overwhelmed the small desk, so I was happy to have a smaller chair to replace it.

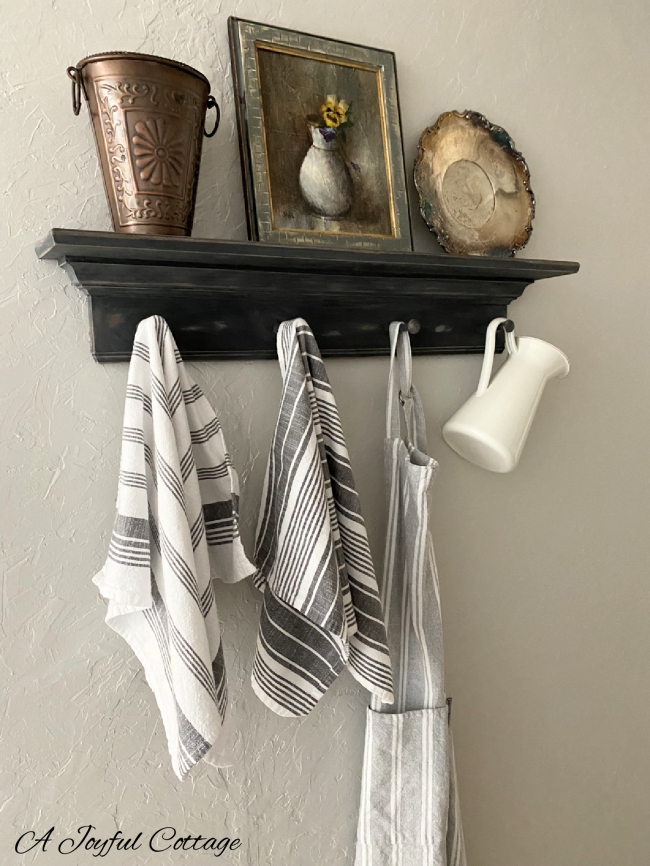
French Country Wall Shelf and Copper Pans


When I planned my kitchen makeover, I had it in mind to hang a shelf with a French Country vibe. This week I installed a thrifted Longaberger wall shelf that I found in a thrift store in March.

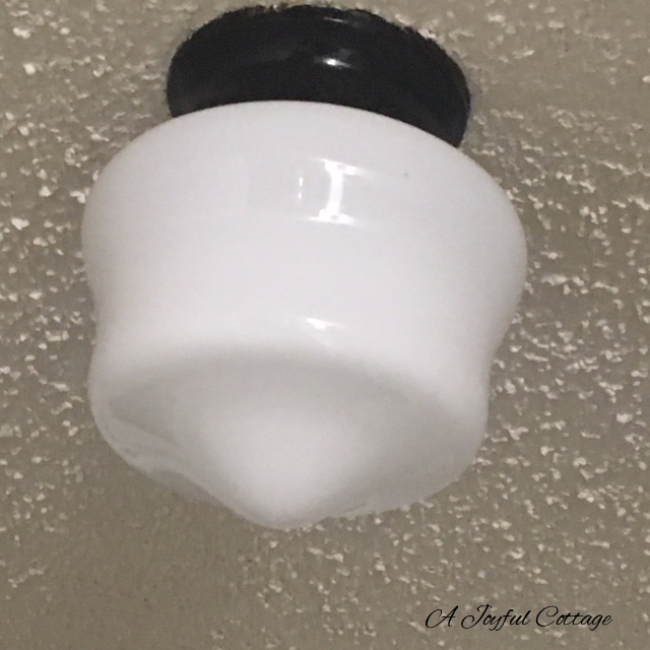
Laundry Ceiling Light and Guest Bath Project


Since I moved into my home two years ago, I've been slowly updating the ceiling light fixtures.  So far I've completed light makeovers in my bedroom and the kitchen for under $10 each, and I've replaced the entry light with a new fixture. While browsing Pinterest recently I saw a DIY ceiling light makeover that utilized a basket, and I wanted to replicate that idea in my laundry.

Laundry Reveal


My budget-friendly laundry makeover is complete and I'm excited to share it with you. Warning: This post is packed with photos. 

Wall Pocket Redo and Another Home Project


Lately my mind has been flooded with ideas for wall decor. I think it started with the budget-friendly wall decor with a vintage vibe that I blogged about several weeks ago. I had so much fun making that piece that it has inspired me to do more.


Last weekend I started another home painting project (which I'll tell you about later in this post), and while waiting for coats of paint to dry I worked on a quick wall pocket redo.

How I Turned My Plain Jane Pendant Light Into a French Beauty


When I moved into my mobile home two years ago, one of the things I thought I might do is replace the existing pendant light in my kitchen's dining area. I wasn't exactly sure what I wanted there, so I decided just to live with it for awhile. 


However, the longer I lived with the light, the more I saw its potential. I began to see it all prettied up with a French Country/Shabby Chic look.

Quick, Easy and Budget-Friendly Wall Decor with a Vintage Vibe


Last week, during my staycation, I came across a new store that caught my eye. I was on my way to a consignment store to do some browsing when I drove by a rather large shop called Cozy Cottage & Co..  I did a quick turn around and pulled into the parking lot. In my book, any store with a name like that deserves a visit.

$4.99 Thrifted Table Makeover


Last week after work I stopped at Goodwill for a browse and saw a hand painted side table for $4.99. I've been thinking about adding a side table next to the sofa, though it hasn't been a big priority. However, when I saw the price tag, the size of the table (which is pretty much perfect for the spot I had in mind) and found the table to be sturdy, I put that find right into my shopping cart. Although I thought the hand painted flowers were rather charming, the colors really didn't work with those in my living room, so I knew I would do some kind of makeover on the table. 

Update an Outdated Ceiling Light for Under $10


Hi Cottage Friends,

I've been working on small projects around my home; one of them being updating the ceiling light fixtures. The fixtures aren't horrible -- I've seen worse for sure -- they just seem very dated to me. I found an idea on Pinterest for a farmhouse light fixture that was especially intriguing to me because it was a DIY makeover project, it was easy to achieve, and it was inexpensive. 

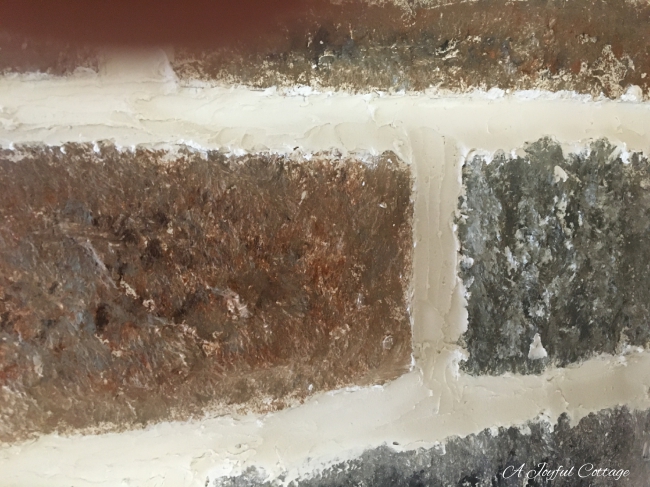
Creating a Faux Brick Wall with Joint Compound


It always feels good when a particular home improvement project is complete. After finishing the kitchen cabinet painting project, I doubt anything I do from here on will have the same impact on my satisfaction scale. However, the faux brick wall comes pretty close.


This close up of the wall shows how authentic the brick looks.


Here's how I achieved this faux brick wall.

Applied one coat of sealer/primer to the VOG (Vinyl-Over-Gympsum) wall.


Created a template with 3/4" masking tape.


Spread a thin coat of joint compound over the entire template, making sure to leave tabs of the masking tape revealed. This gives something to pull, and then peel off the masking tape. 


Here's what that looks like.


Now the faux brick wall is ready for painting. 


While they were still wet, I painted each individual brick with Folk Art acrylic paints in various colors. Also, after the painted bricks were dry, I went back in with an old table knife and added joint compound between the bricks to give the look of mortar. This is something I haven't seen anyone else do. I'm thinking about painting the "mortar" in a color that gives it more of an aged appearance. Maybe ivory, or pale gray. What do you think?


At the end of this post I've added some Youtube videos that show the process in detail, in case you're interested in learning more about creating a faux brick wall with joint compound.

By the way, the entire cost of this project, including the decorative paints, was about $20.  A definite statement in my kitchen for very little money. And, honestly, this was a pretty easy and fun project.


Hugs,


Youtube faux brick wall videos:


Copper in the Entryway


Whenever I pass through thrift store aisles, I keep my eyes peeled for tarnished silver and copper. Some people wouldn't dream of using tarnished pieces in their decor, and, even worse, would be aghast at the tray I painted with chalk paint. One time a stranger commented while I added a tarnished silver tray to my thrift store cart, "That will be really pretty when it's all polished up." I just smiled. I didn't have the heart to tell her I didn't plan to polish it. The funny thing is, I've felt this way about aged metal for as long as I can remember. When I was a little girl, my mom had an old silver salt and pepper shaker set -- very ornate -- that my dad brought home from an estate sale. It was practically black with tarnish, and forever sat on a kitchen shelf unused. She never had the time or inclination to polish it, and I thought it was beautiful in its needy state.

Thrift Store Artwork - Updating the Frame


Happy Weekend, Cottage Friends!


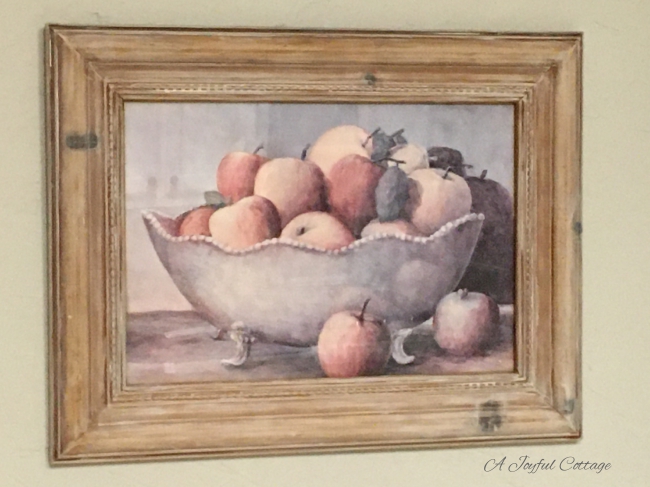
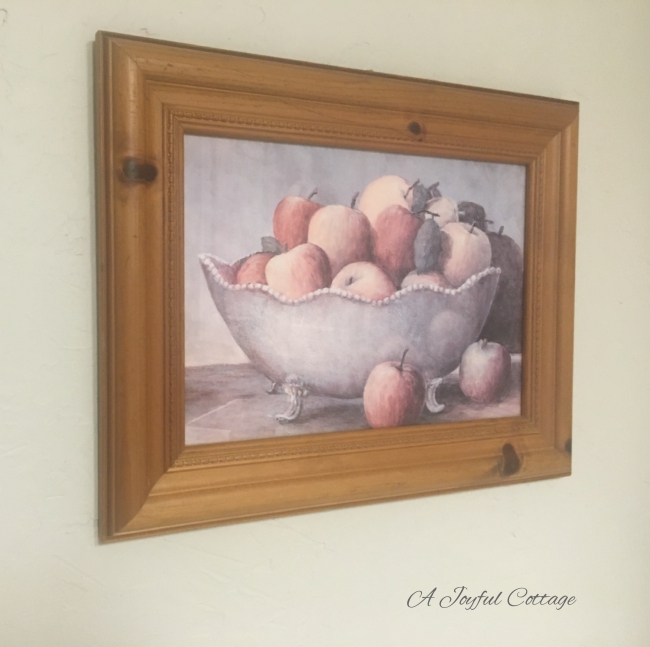
Back in October I picked up a pretty framed still life print at the thrift store. The frame was pine -- a wood that I happen to like -- and it was priced at $5, which was a real bargain. I had thought to leave the frame in its original condition, however, the more I looked at it, the more I felt the frame didn't do justice to the still life. Rather than enhance it, the frame seemed to detract from the beautiful muted colors in the print.


Kitchen Cabinet Painting - Reveal of the Finished Project


 Hi Cottage Friends,


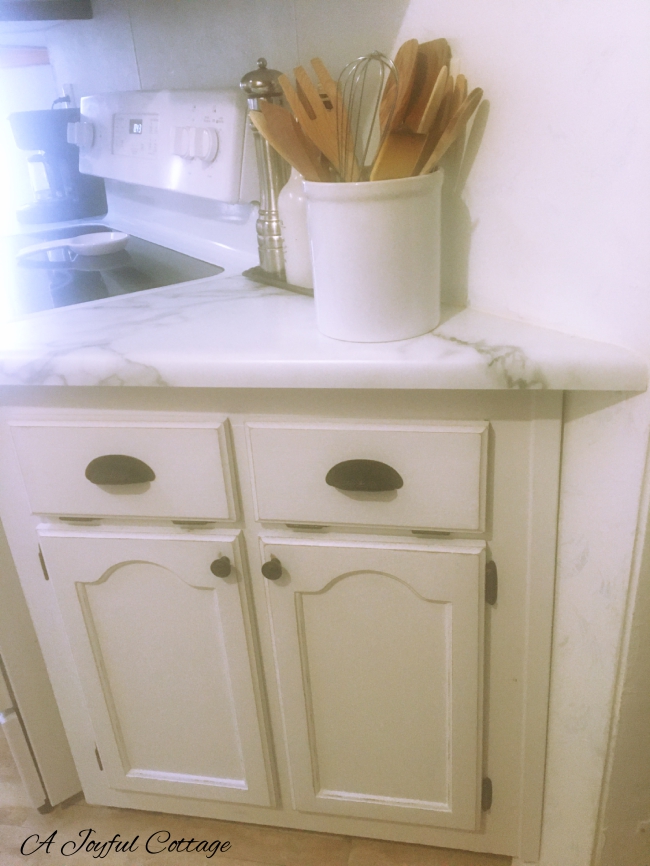
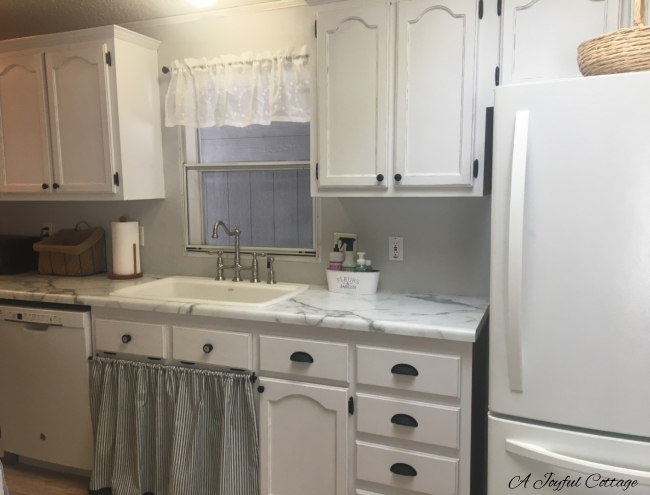
My kitchen cabinet painting project is finished (except for a few little things that need attention), and I'm happy to show you the results.


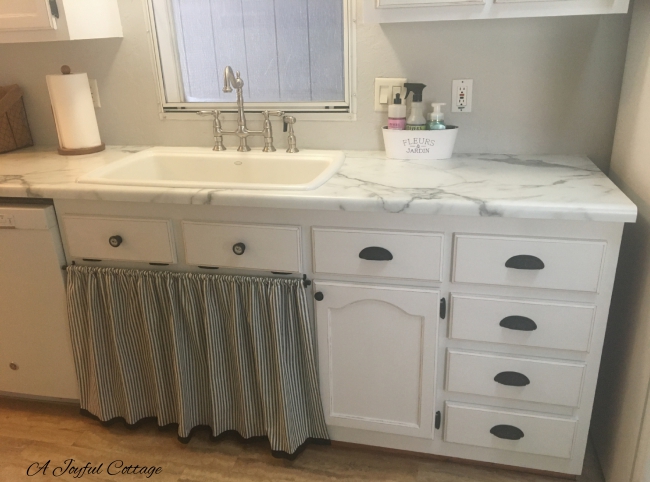
I recycled a tension rod and two brackets, that the previous owner of my home left behind, to hold my sink skirt. The rod was white, so I painted the ends black, and attached the rod brackets to the cabinet frame. I've kept the doors and will paint them later, then keep them with the hardware in case some day I sell my home and the next owner wants to put the doors back on. I'm good at filling holes and painting, so I'm not concerned about the holes I drilled for the brackets. The door to the right of the skirt is where the trash can is, so I won't need to move the skirt to dispose of trash. I'll be storing supplies and other items I occasionally use behind the skirt.


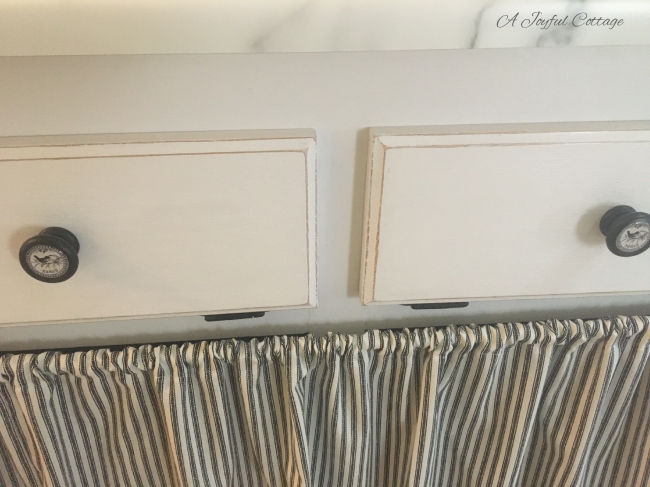
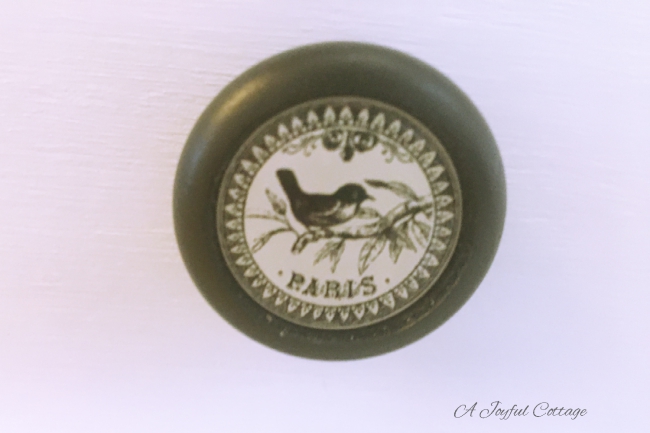
I added knobs to the two tip-out trays from the same Etsy shop that supplied the knobs for the cabinet over the range. I wanted the sink cabinet to have a different look from the rest of the cabinets. The sweet bird sold me on these knobs.


When I first planned this project, I had in mind to makeover my sink cabinet to look more like a piece of furniture, and I found some Pinterest photos that inspired me. 


Source


Source


Unfortunately, the design of my cabinets didn't allow for adding decorative pieces on the sides. I had considered removing the tip-out trays and installing a false drawer front to replace them, and then adding an applique before painting, but the cost to change out the tip-out trays to a false drawer front was about $125, and I just couldn't justify the expense. I mean, really, it's not that much money in the grand scheme of things, but I'm pretty frugal and thought that money could be better spent on other things in my home. The total cost to change the tray knobs and make the skirt was about $27, so I'm glad I made that decision.


Now that the cabinets are painted, I'll turn my attention to painting the trim and baseboards, and finishing the faux brick wall. I have a plan for my dining chairs, too. Not to mention lighting changes and other decorating ideas I want to make happen.

I hope you'll stick with me as I continue making this home my own. 😊

Hugs,


Kitchen Cabinets Painting Progress - Sink Cabinet


Hello Cottage Friends,


Popping in to show you my finished sink cabinet. I'll be back to show you the rest of the kitchen, and give some details about what I've done, soon. I also want to give a shout out to one of my readers and friend Diane.