Showing posts with label French Country. Show all posts

Thrifted Crate Flipped for Fall


Today I'm sharing a thrift flip with you. And honestly, I'm kind of excited about the way it turned out. It's something that can be displayed throughout the year, and right now it's styled for fall.


A while ago I bought a small crate for $2 at the thrift store. It apparently had been used as a wall shelf with little cup hooks attached (one was missing).

New French Farmhouse Dining Chair Pads


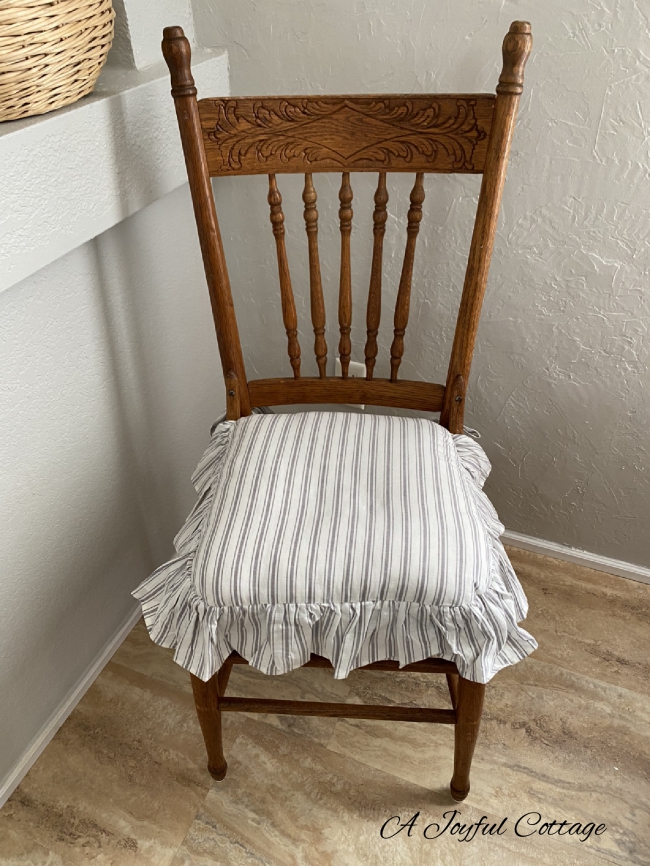
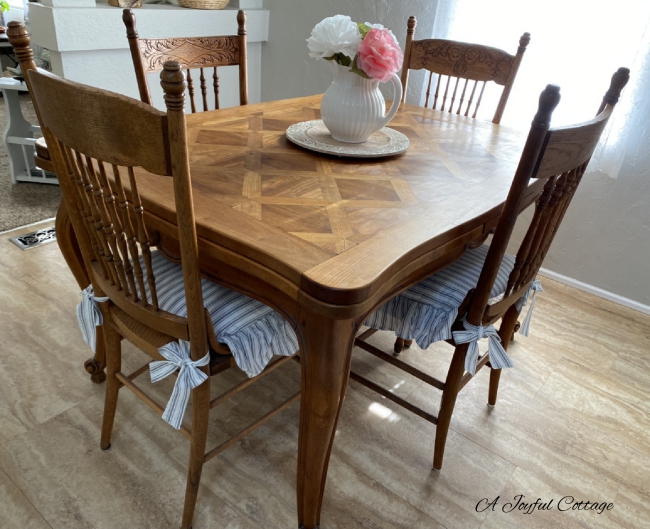
I've been on the lookout for dining chair pads for my perfectly imperfect dining room chairs, and after two months of searching for the perfect chair pads I think I can say I found them. I wanted chair pads on the feminine side, in a neutral color, budget-minded, and they had to say "French Farmhouse".


I found these gray and white stripe chair pads online at Piper Classics, after doing a search for "French Farmhouse chair pads" on Pinterest. The fabric is cotton, and the pattern is called "Timeless Ticking". I especially like the width of the ties, which gives the bows a crisp look, just the way I like them.


These chair pads were on sale, plus I used free shipping and 10% off coupons, which made them very affordable. 


I thought about making my own chair pads, but I doubt I would have saved enough money to make it worth my time and effort. Especially when I consider those charming ruffles.


Have a great weekend!

Hugs,


French Country Chair Makeover


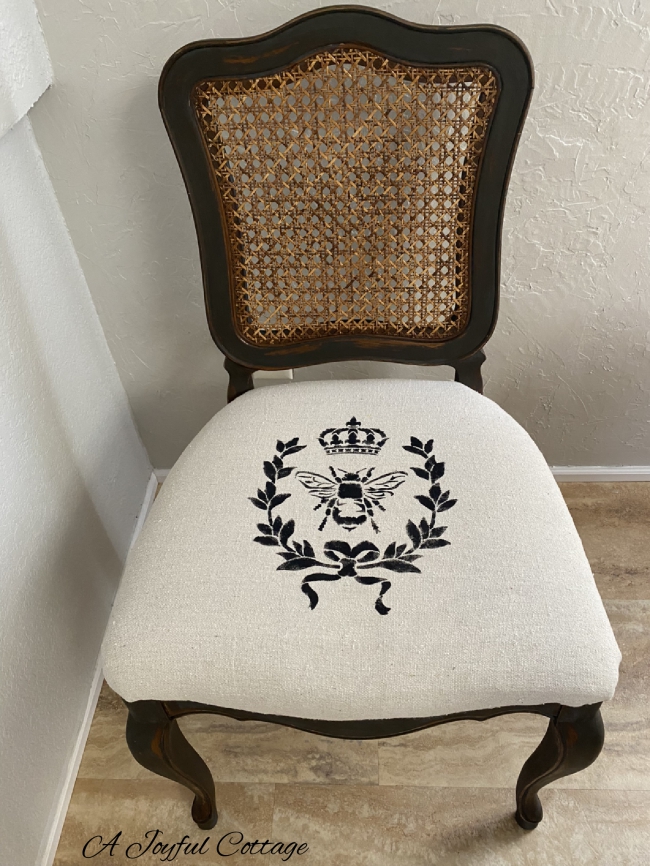
This is a makeover I've been itching to complete, and now that it's finished I'm thrilled to share it with you.


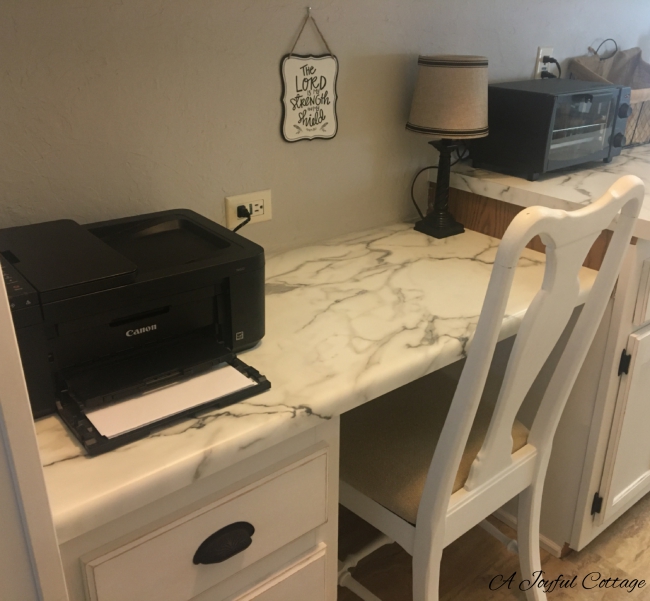
When I changed out the chairs of my imperfectly perfect dining table and chairs, I was able to salvage one of the old chairs for use with my kitchen desk. I had a larger chair there that kind of overwhelmed the small desk, so I was happy to have a smaller chair to replace it.

French Country Wall Shelf and Copper Pans


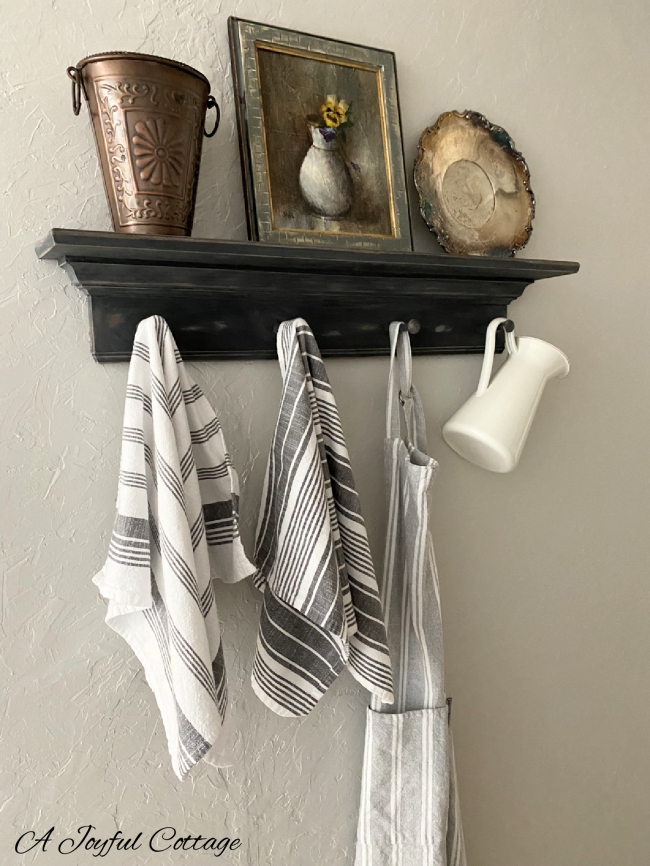
When I planned my kitchen makeover, I had it in mind to hang a shelf with a French Country vibe. This week I installed a thrifted Longaberger wall shelf that I found in a thrift store in March.

How I Turned My Plain Jane Pendant Light Into a French Beauty


When I moved into my mobile home two years ago, one of the things I thought I might do is replace the existing pendant light in my kitchen's dining area. I wasn't exactly sure what I wanted there, so I decided just to live with it for awhile. 


However, the longer I lived with the light, the more I saw its potential. I began to see it all prettied up with a French Country/Shabby Chic look.

My Imperfectly Perfect Dining Table and Chairs


One of the first purchases I made when I moved into my home two years ago was my dining table. I wanted something with a French country vibe, and it had to be priced in my budget. Fortunately, while browsing in Habitat Restore I spied a unique table that peeked my interest. I wasn't in love with the parquet top, but it did have two inset draw leafs that extend to allow for 8 - 10 people. In my small space, that was a definite plus. What really sold me, though, was the price tag of $75. Definitely within my budget.

Copper in the Entryway


Whenever I pass through thrift store aisles, I keep my eyes peeled for tarnished silver and copper. Some people wouldn't dream of using tarnished pieces in their decor, and, even worse, would be aghast at the tray I painted with chalk paint. One time a stranger commented while I added a tarnished silver tray to my thrift store cart, "That will be really pretty when it's all polished up." I just smiled. I didn't have the heart to tell her I didn't plan to polish it. The funny thing is, I've felt this way about aged metal for as long as I can remember. When I was a little girl, my mom had an old silver salt and pepper shaker set -- very ornate -- that my dad brought home from an estate sale. It was practically black with tarnish, and forever sat on a kitchen shelf unused. She never had the time or inclination to polish it, and I thought it was beautiful in its needy state.

Thrift Store Artwork - Updating the Frame


Happy Weekend, Cottage Friends!


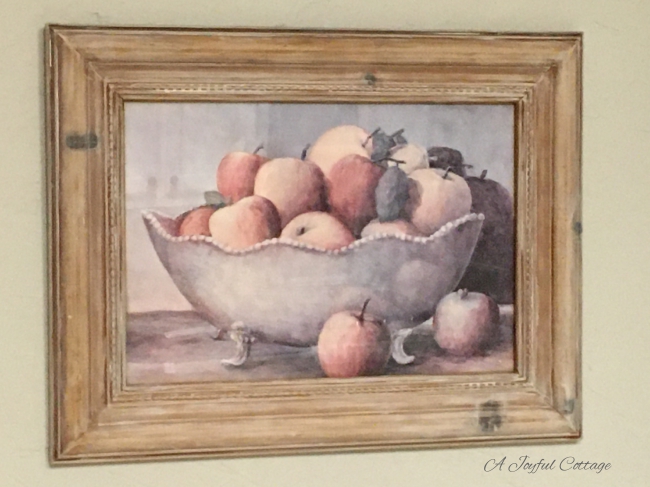
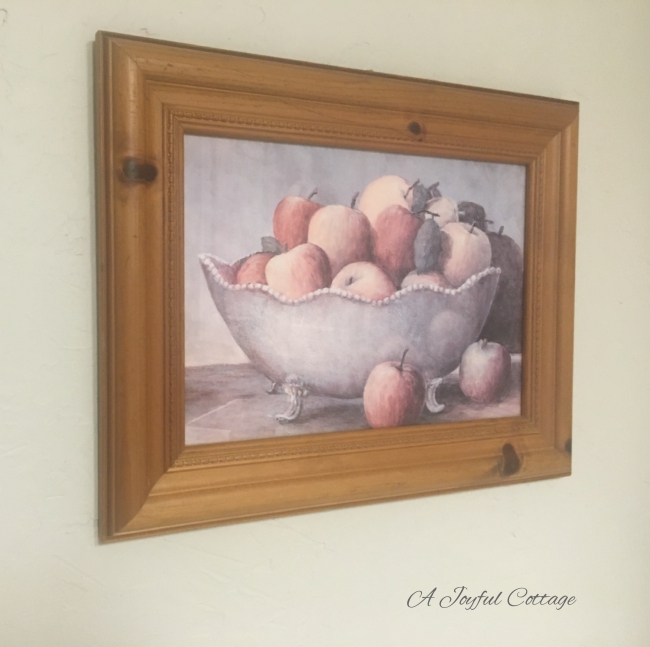
Back in October I picked up a pretty framed still life print at the thrift store. The frame was pine -- a wood that I happen to like -- and it was priced at $5, which was a real bargain. I had thought to leave the frame in its original condition, however, the more I looked at it, the more I felt the frame didn't do justice to the still life. Rather than enhance it, the frame seemed to detract from the beautiful muted colors in the print.


Kitchen Cabinet Painting - Reveal of the Finished Project


 Hi Cottage Friends,


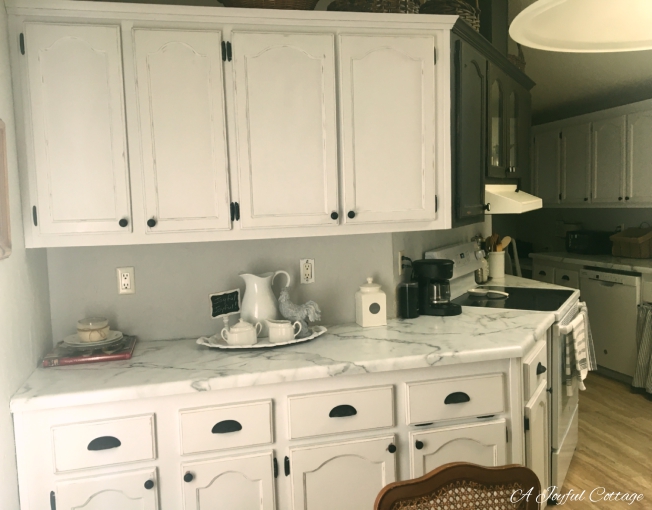
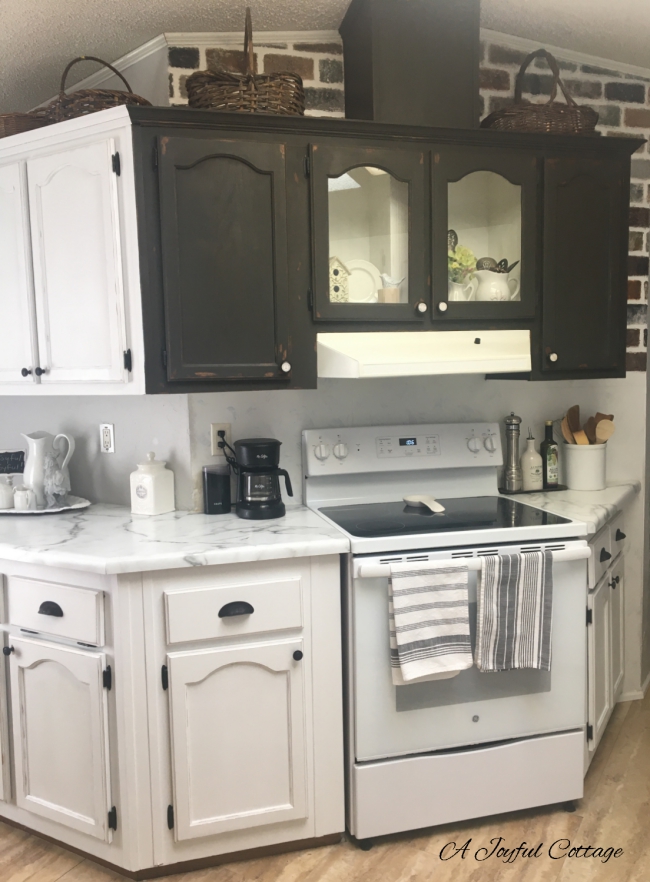
My kitchen cabinet painting project is finished (except for a few little things that need attention), and I'm happy to show you the results.


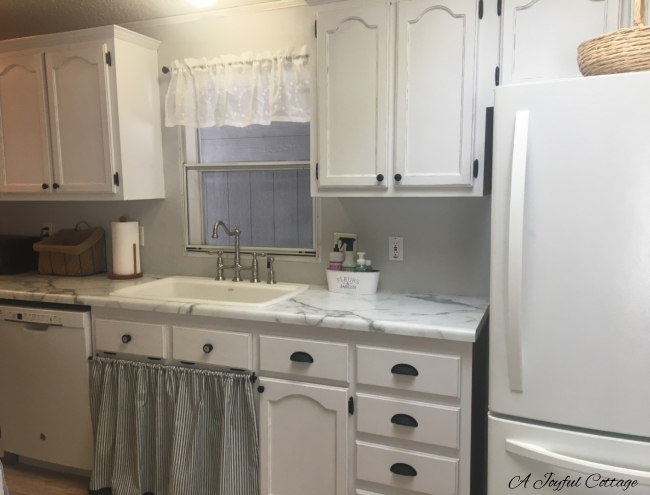
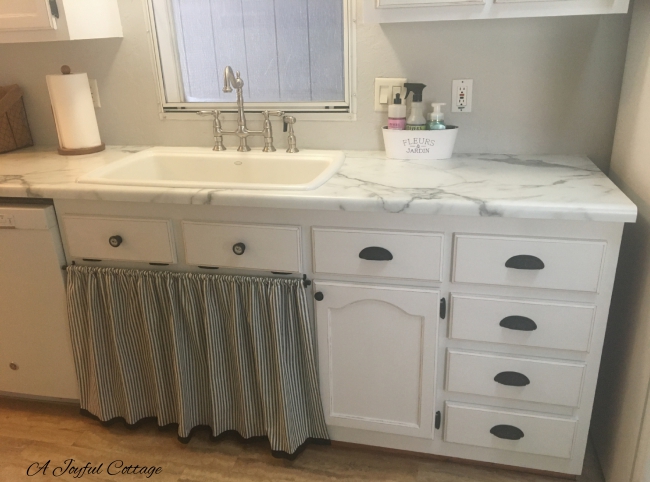
I recycled a tension rod and two brackets, that the previous owner of my home left behind, to hold my sink skirt. The rod was white, so I painted the ends black, and attached the rod brackets to the cabinet frame. I've kept the doors and will paint them later, then keep them with the hardware in case some day I sell my home and the next owner wants to put the doors back on. I'm good at filling holes and painting, so I'm not concerned about the holes I drilled for the brackets. The door to the right of the skirt is where the trash can is, so I won't need to move the skirt to dispose of trash. I'll be storing supplies and other items I occasionally use behind the skirt.


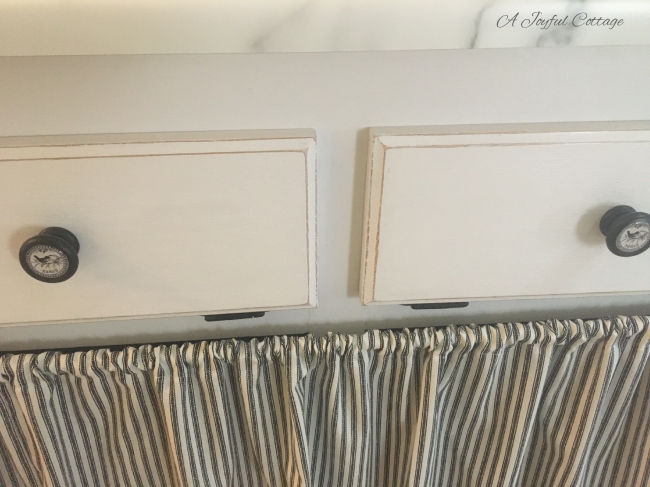
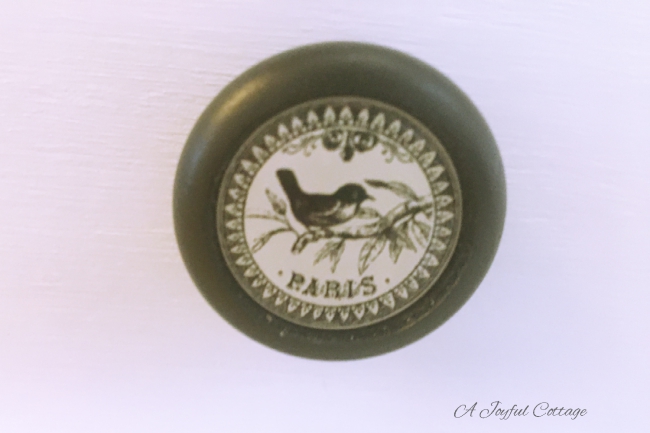
I added knobs to the two tip-out trays from the same Etsy shop that supplied the knobs for the cabinet over the range. I wanted the sink cabinet to have a different look from the rest of the cabinets. The sweet bird sold me on these knobs.


When I first planned this project, I had in mind to makeover my sink cabinet to look more like a piece of furniture, and I found some Pinterest photos that inspired me. 


Source


Source


Unfortunately, the design of my cabinets didn't allow for adding decorative pieces on the sides. I had considered removing the tip-out trays and installing a false drawer front to replace them, and then adding an applique before painting, but the cost to change out the tip-out trays to a false drawer front was about $125, and I just couldn't justify the expense. I mean, really, it's not that much money in the grand scheme of things, but I'm pretty frugal and thought that money could be better spent on other things in my home. The total cost to change the tray knobs and make the skirt was about $27, so I'm glad I made that decision.


Now that the cabinets are painted, I'll turn my attention to painting the trim and baseboards, and finishing the faux brick wall. I have a plan for my dining chairs, too. Not to mention lighting changes and other decorating ideas I want to make happen.

I hope you'll stick with me as I continue making this home my own. 😊

Hugs,


Kitchen Cabinets Painting Progress - Sink Cabinet


Hello Cottage Friends,


Popping in to show you my finished sink cabinet. I'll be back to show you the rest of the kitchen, and give some details about what I've done, soon. I also want to give a shout out to one of my readers and friend Diane.

Kitchen Cabinet Painting Progress - Range Surround Complete


Welcome Cottage Friends, 


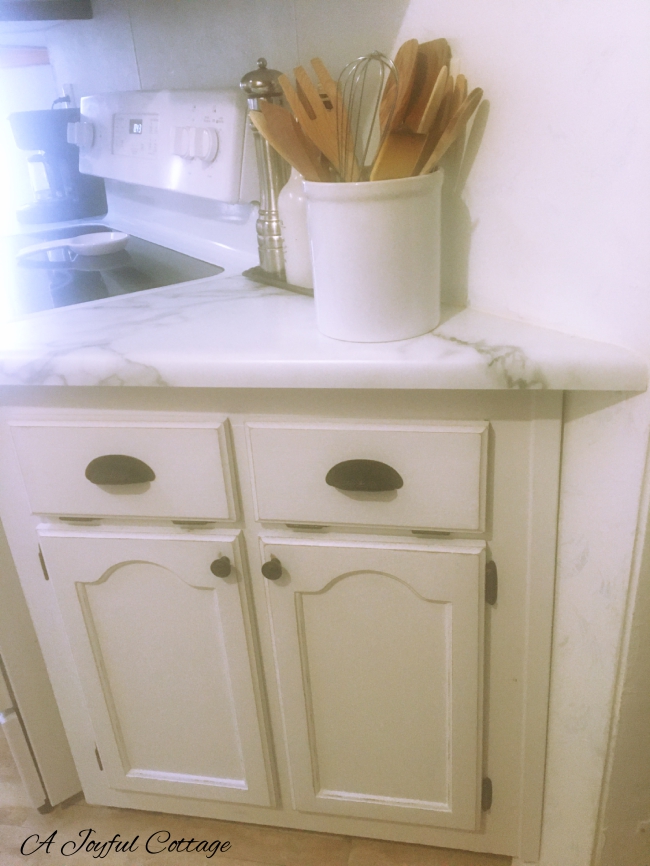
I'm happy to tell you that one-half of my kitchen cabinet painting project is complete. And yes, it's taken me almost five months to get to this point. Well, I didn't work on this for five months. It took me two weekends to paint, but it took 4 1/2 months for me to find the motivation to do it. I find painting in the winter is much more pleasant than painting in the summer. Also, I wanted to wait until after the holidays to start up again. Thus, the 4 1/2 month wait.

Vintage French Country Nightstand


Hello Cottage Friends,


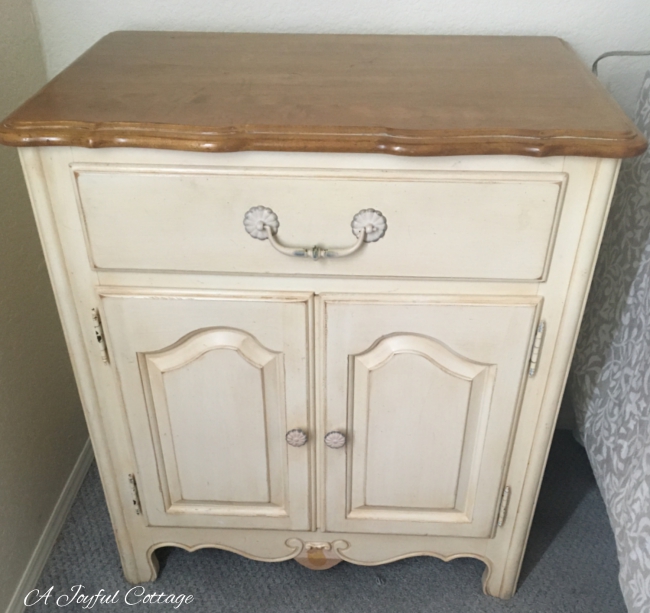
I hope the new year is off to a good start for you. I've had some challenges, which I'm not going to elaborate on now. I'm more interested in showing you my latest thrift store score: an amazing Ethan Allen French Country Nightstand from the 1990's for only $20!

How I Created A Budget Friendly Cottage Living Room (with a Hint of French!)


When I purchased my mobile home sixteen months ago, I had a decor vision of Cottage style mixed with French Country. I also envisioned a mostly neutral color palette with subtle touches of color. I wanted my home to be warm, welcoming and comfortable. Nothing too fussy, nor too trendy. My goal was to create timeless rooms, and I needed to do it on a small budget.

DIY Budget-Friendly Wall Decor - How A Discarded Cabinet Door Became A French Country Sign


This week I'm taking some time off from work; a staycation meant to give me a chance to kick back, have some fun, and enjoy the freedom of deciding myself what I want to do with these ten days. Yes! Ten days. One of the things I chose to do was create wall decor for a space between my two living room windows, just above my TV screen. 

Kitchen Cabinet Painting Progress


Sunday and Monday were extraordinarily pleasant days here. Rain cooled things off, and I was able to open my windows and let the fresh air fill the rooms. The cooler temperatures energized me, and I, once again, felt like painting my kitchen cabinets.

Kitchen Cabinet Painting Update

Hello Cottage Friends,

I used my staycation last week to paint my kitchen cabinets and I completed the project. Wait! No, I must have dreamed that. I didn't even come close; barely scratched the surface. Well, maybe that's too negative. I did complete a cabinet that I consider to be my "statement" piece in the kitchen.


I changed the door handles to knobs, so that meant filling in one of the screw holes with wood putty and sanding before I could paint. I purchased the knobs from Knob Treasures on Etsy. They are handmade historical French postmark reproductions.


The photo below was taken right after I purchased my home. Can you see the gold metal trim inserted in the crown moulding? No? Look closely, it's right in the center of the moulding.


"Oh, bliss! How wonderful to have gold metal trimming on all the cabinets throughout my home!" Said no one. Ever.

Seriously, why did mobile home manufacturers 20 years ago do things like this? Did designers sit in brainstorming meetings and intentionally plan to make perfectly fine cabinets look tacky? 

Ok, I'm done venting.

I removed all the gold trim after I moved in. Last week before the painting began, I repaired other trim and properly reinstalled the crown moulding, which had apparently fallen off at some point and the former owners tried to reattach with gold screws. Cuz, you know, that makes the tacky cabinet look less tacky, right? (Oops, I said I was done venting. Sorry.)
 
The faux brick wall is a work in progress. (Whew, doesn't it seem like everything here is "a work in progress"?) I'll blog about that at some point. Bear with me, I have so little time to tend to all these things, and it takes twice as long with only one pair of hands.

All this is loosely based on my inspiration photo.


There will be only this one black cabinet in the kitchen. The others will be white. I played around with one of the other cabinet doors to get a look that pleased me.


 I will tell you that this kitchen cabinet painting is no small task, and there are much better ways to tackle it. If I had a garage I would have taken all the doors off and lined them up in the garage and with one fell swoop painted them all at once. However, I don't have a garage or anywhere that I can do that. So, I'm doing it in sections and using my dining table and craft table as staging areas. I could have spray painted them, but that's something that needs to happen during a renovation, before you have new countertops, painted walls, etc.. Also, I'm going for a particular vintage look, which involves chalk paint and in the case of the black cabinet, dark antique wax. It's going to take awhile folks, but I'm okay with that. I will eventually get the job done, and I know I'll be happy with the results. Actually, I'm contemplating painting the inside of the cabinets while I have the doors off. I know, I know. One more step in the process, but really, doesn't it kind of make sense to live with the pain to end up with a well executed result? Tell me what you think.

Hugs,


Thrift Store Rooster Makeover


Hi Cottage Friends,

I've been wanting a rooster for my kitchen for a while now. But not just any rooster. I wanted one with a French Country vibe. After watching one of my favorite Youtubers transform a tacky thrift store ceramic figurine into a fabulous French Country piece with chalk paint and white wax, I wondered if I could find a rooster to redo. Fortunately, I found one for $2.99 at Goodwill. A very gaudy rooster that prior to witnessing the ceramic makeover on Youtube I would have passed over without a second thought.

The only before photo I have of the rooster is this one.


I had already begun the painting process on most of the rooster when I realized I hadn't snapped a before photo. This photo doesn't give a true picture of just how gaudy and awful this rooster was. The clerk at the Goodwill checkout called it "the dalmatian rooster". Well, yeah, what with the smattering of all those polka dots.

It took several coats of Waverly chalk paint in Steel to cover all that ugliness. I then tinted some Waverly clear wax with White Waverly chalk paint and brushed it over the whole piece, concentrating on the crevices and places I wanted to highlight, until  I got the look I wanted.


Now it sits on the windowsill above my kitchen sink, along with a French Soda bottle and a vintage transferware vase (both thrift store finds), and a scented candle. (And, yes, I need to paint the windowsill. It's on the To-do List.)


Have I inspired you to look at ugly thrift store items in a new way?

Hugs,