
Hi Cottage Friends,
I've been working on small projects around my home; one of them being updating the ceiling light fixtures. The fixtures aren't horrible -- I've seen worse for sure -- they just seem very dated to me. I found an idea on Pinterest for a farmhouse light fixture that was especially intriguing to me because it was a DIY makeover project, it was easy to achieve, and it was inexpensive.
When I moved into my mobile home all the bedroom and kitchen ceiling lights looked like this.

Not very exciting.
I'd love to buy all new light fixtures in a style I love, but right now that idea is relegated to the backburner. So, when I found the Pinterest pin, I knew I had found a very doable project that would freshen up the ceiling lights without breaking the bank.
I didn't want to take down the fixture and spray paint it, as the Pinterest creator had done, but instead decided to brush paint it with a paint suitable for metal in flat black.

I started by removing the globe, cleaning the fixture base, and taping the ceiling around the base.

Then I roughed up the surface of the fixture with sandpaper and wiped it down. Roughing up the surface helps the paint stick.
Using a 1" angled brush, I applied two coats of paint to the base.

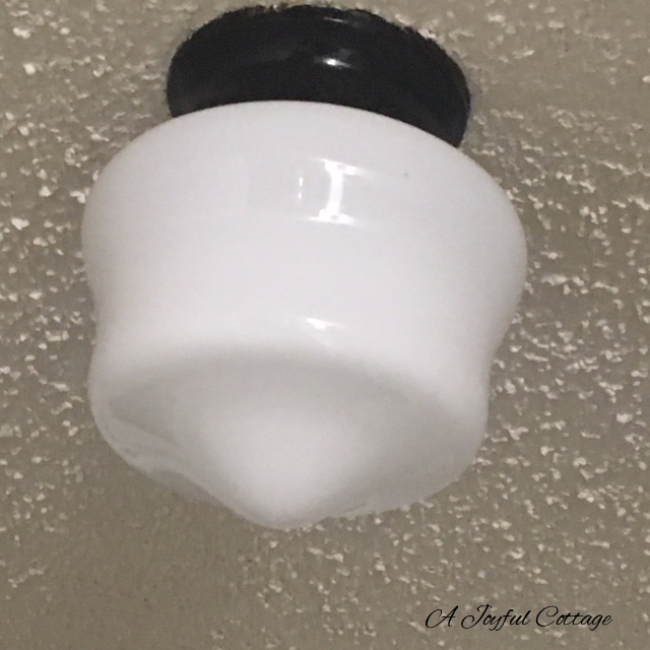
After it was completely dry, I affixed the schoolhouse globe, removed the tape from the ceiling and prest-o chang-o, a good as new light fixture.
The schoolhouse globe came from Lowe's, and cost $5.98. The can of rust-oleum paint was $6.99, and I have plenty left to do all my ceiling light fixtures.

I'm so pleased with the results that I've already used this same process to update my kitchen ceiling light fixtures.
Hope you're having a great weekend!
Hugs,


It's beautiful. What a great bargain. We've been slowing replacing fixtures around our house since we moved in. Unfortunately they were so old new new fixtures worked but the lights we chose certainly weren't expensive ones. I think they all look much better too, just like yours.
ReplyDeleteBlessings,
Betsy
It’s a nice feeling when can self to do something, especially with low costs. Have a good day for you:)
ReplyDeleteThis is awesome Nancy. I love when you can recycle what you have into something that looks so much better. Happy Sunday have a great start to the new week. xoxo Kris
ReplyDeleteYou are ingenious! Those look great.. good idea to paint the brass. My house has those old flat square fixtures from the 70's.. and I need to replace them.. I think about it and then forget! I just looked at Lowe's website and they are SPENDY! You always inspire me! xoxo Marilyn
ReplyDeleteI love that! It looks like a new light, and the style is so cute!
ReplyDeleteNow I need to check my lights and see if I can do that too.
I love your budget friendly ideas . . . right now I have to spend my money on home repairs and planting a spring garden. It's always good to do a bit of decorating that doesn't break the bank. Thanks for another great idea :)
ReplyDeleteJust one of the things I enjoyed about your remodeling your new home, is that you investigate thoroughly the proper ways to paint in the correct paint to use on the project. Certainly helpful to any of us that would try our hand at some of the same work. I think your new overhead lights look like they'll be a great improvement over the originals. Let the light shine on you,Lynn and Precious
ReplyDeleteVery nice
ReplyDeleteVery nice! I'm about ready to paint my light fixtures in the kitchen. From a brownish color to black. It'll update them beautifully. I also may use a bit of Rub n Buff to add some aged gold on them. Still thinking about that bit.
ReplyDeleteAnother amazing transformation, Nancy!! I love your quick fixes. xo
ReplyDelete